The Team and Progress
The Project Team
When we decided to undergo our first big renovation about five years ago, we engaged FitzHarris Designs, Architects & Designers to develop plans that would center on re-designing the kitchen while moving the basement stairs and renovating two bathrooms. Maywood neighbor, Heidi FitzHarris, worked with us to get the vision for our home into a set of drawings and led us through the HALRB approval process.
When we were ready to put the design out to bid, Heidi suggested a number of builders that she had worked with before and trusted. Among them was the successful bidder, Dunn-Right Contracting. From the review of his proposal through the completion of the project, Vince Dunn and his team communicated well, performed the demolition required respectfully, and installed quality work. Along with Alberto Gonzalez, owner of G&G General Contractors, the team identified problem issues early and developed effective solutions.
So, when we planned the restoration of the porch and windows, it was an easy decision to go straight to Dunn-Right and G&G. We knew that the end product would be of excellent quality and that they would be committed to mission of highlighting the history of the home, reaching out to the community, and celebrating the diversity in the area.
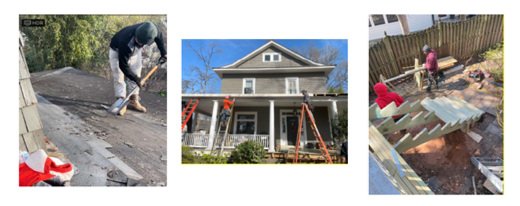
Members of the Project Team on Day 1, ready to start re-framing the damaged areas of the porch deck and begin the roof work
Restoring the Porch Roof
The wrap-around porch has a surface area of approximately 900 square feet. When the rain falls, the porch handles not only the water that falls directly on it, but also the water shedding from the upper roofing of the house. The focus areas of the roof work are:
Identify any damaged structural framing and sub-surface
Repair any damaged structural framing and sub-surface
Repair soffit and fascia
Preserve and re-secure original metal flashing
Install new ice-shield
Install a metal drip edge and extend shingle edge
Replace shingles
Let’s walk through how the team executed each of these work elements, inspecting for yet to be discovered problem conditions, and ultimately came up with a plan of action to correct the issues for the long-term.
The most obvious structural failure on the porch roof was on the NW hip joist, where you can see an obvious dip about 2 to 3 feet from the flashing.
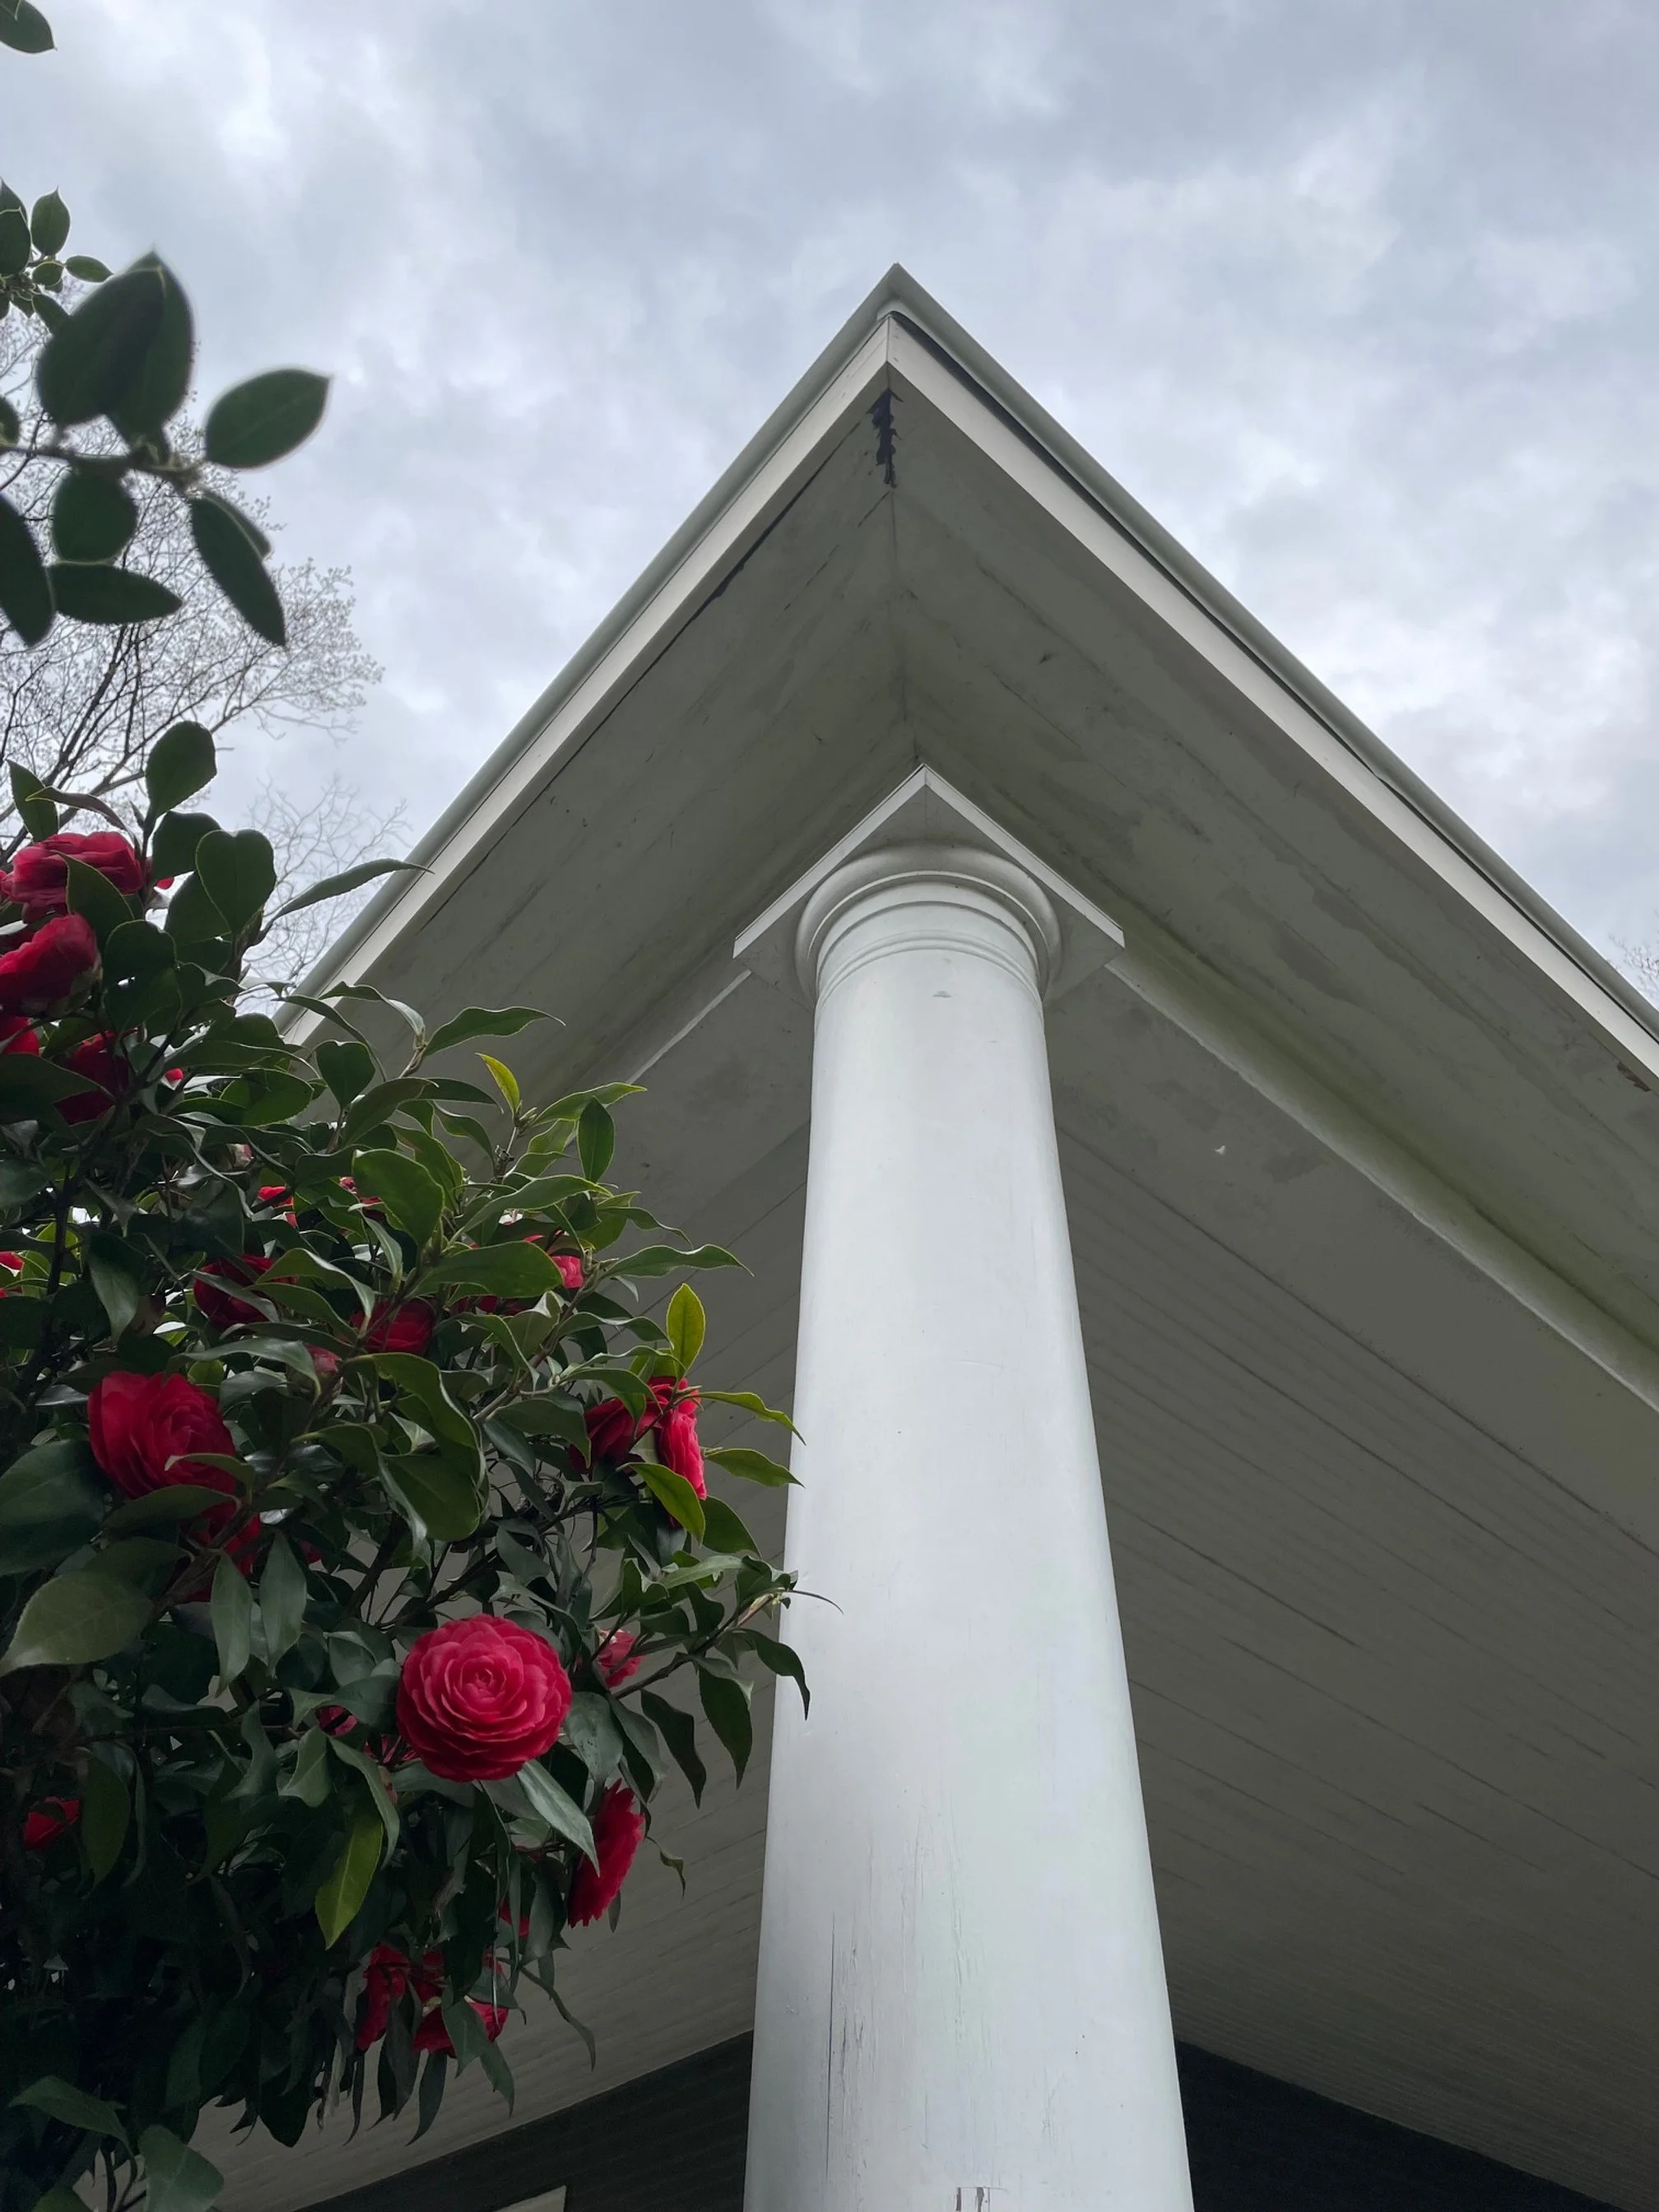
Partially because of the joist failure, instead of dripping straight down of the roof edge, water hugged the fascia, the soffit, and the roof beams, causing discoloration and damage.
Identify any Damaged Structural Framing and Sub-Surface
Prior to starting the demo, we identified one particular location at the Northwest roof hip that was visibly sagging, and causing water to run in a stream off the roof rather than evenly flowing off the edge. As the shingles and old ice shield was removed, we exposed other locations that had damaged roofing planks. Happily, there was no other serious damage to the framing, but these holes had to be addressed, as well.
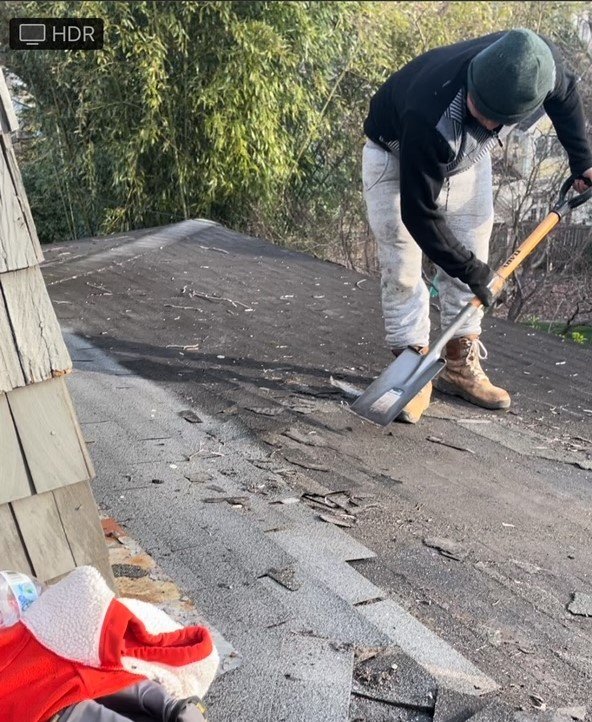
It takes a while to remove 900 square feet of shingles and the crew of three needed about a week to remove them and scrape the ice shield.
The crew did a great job scraping the ice shield while exposing the holes and still preserving the old roof deck planks.
The first cut at the failing hip joist in the NW corner.
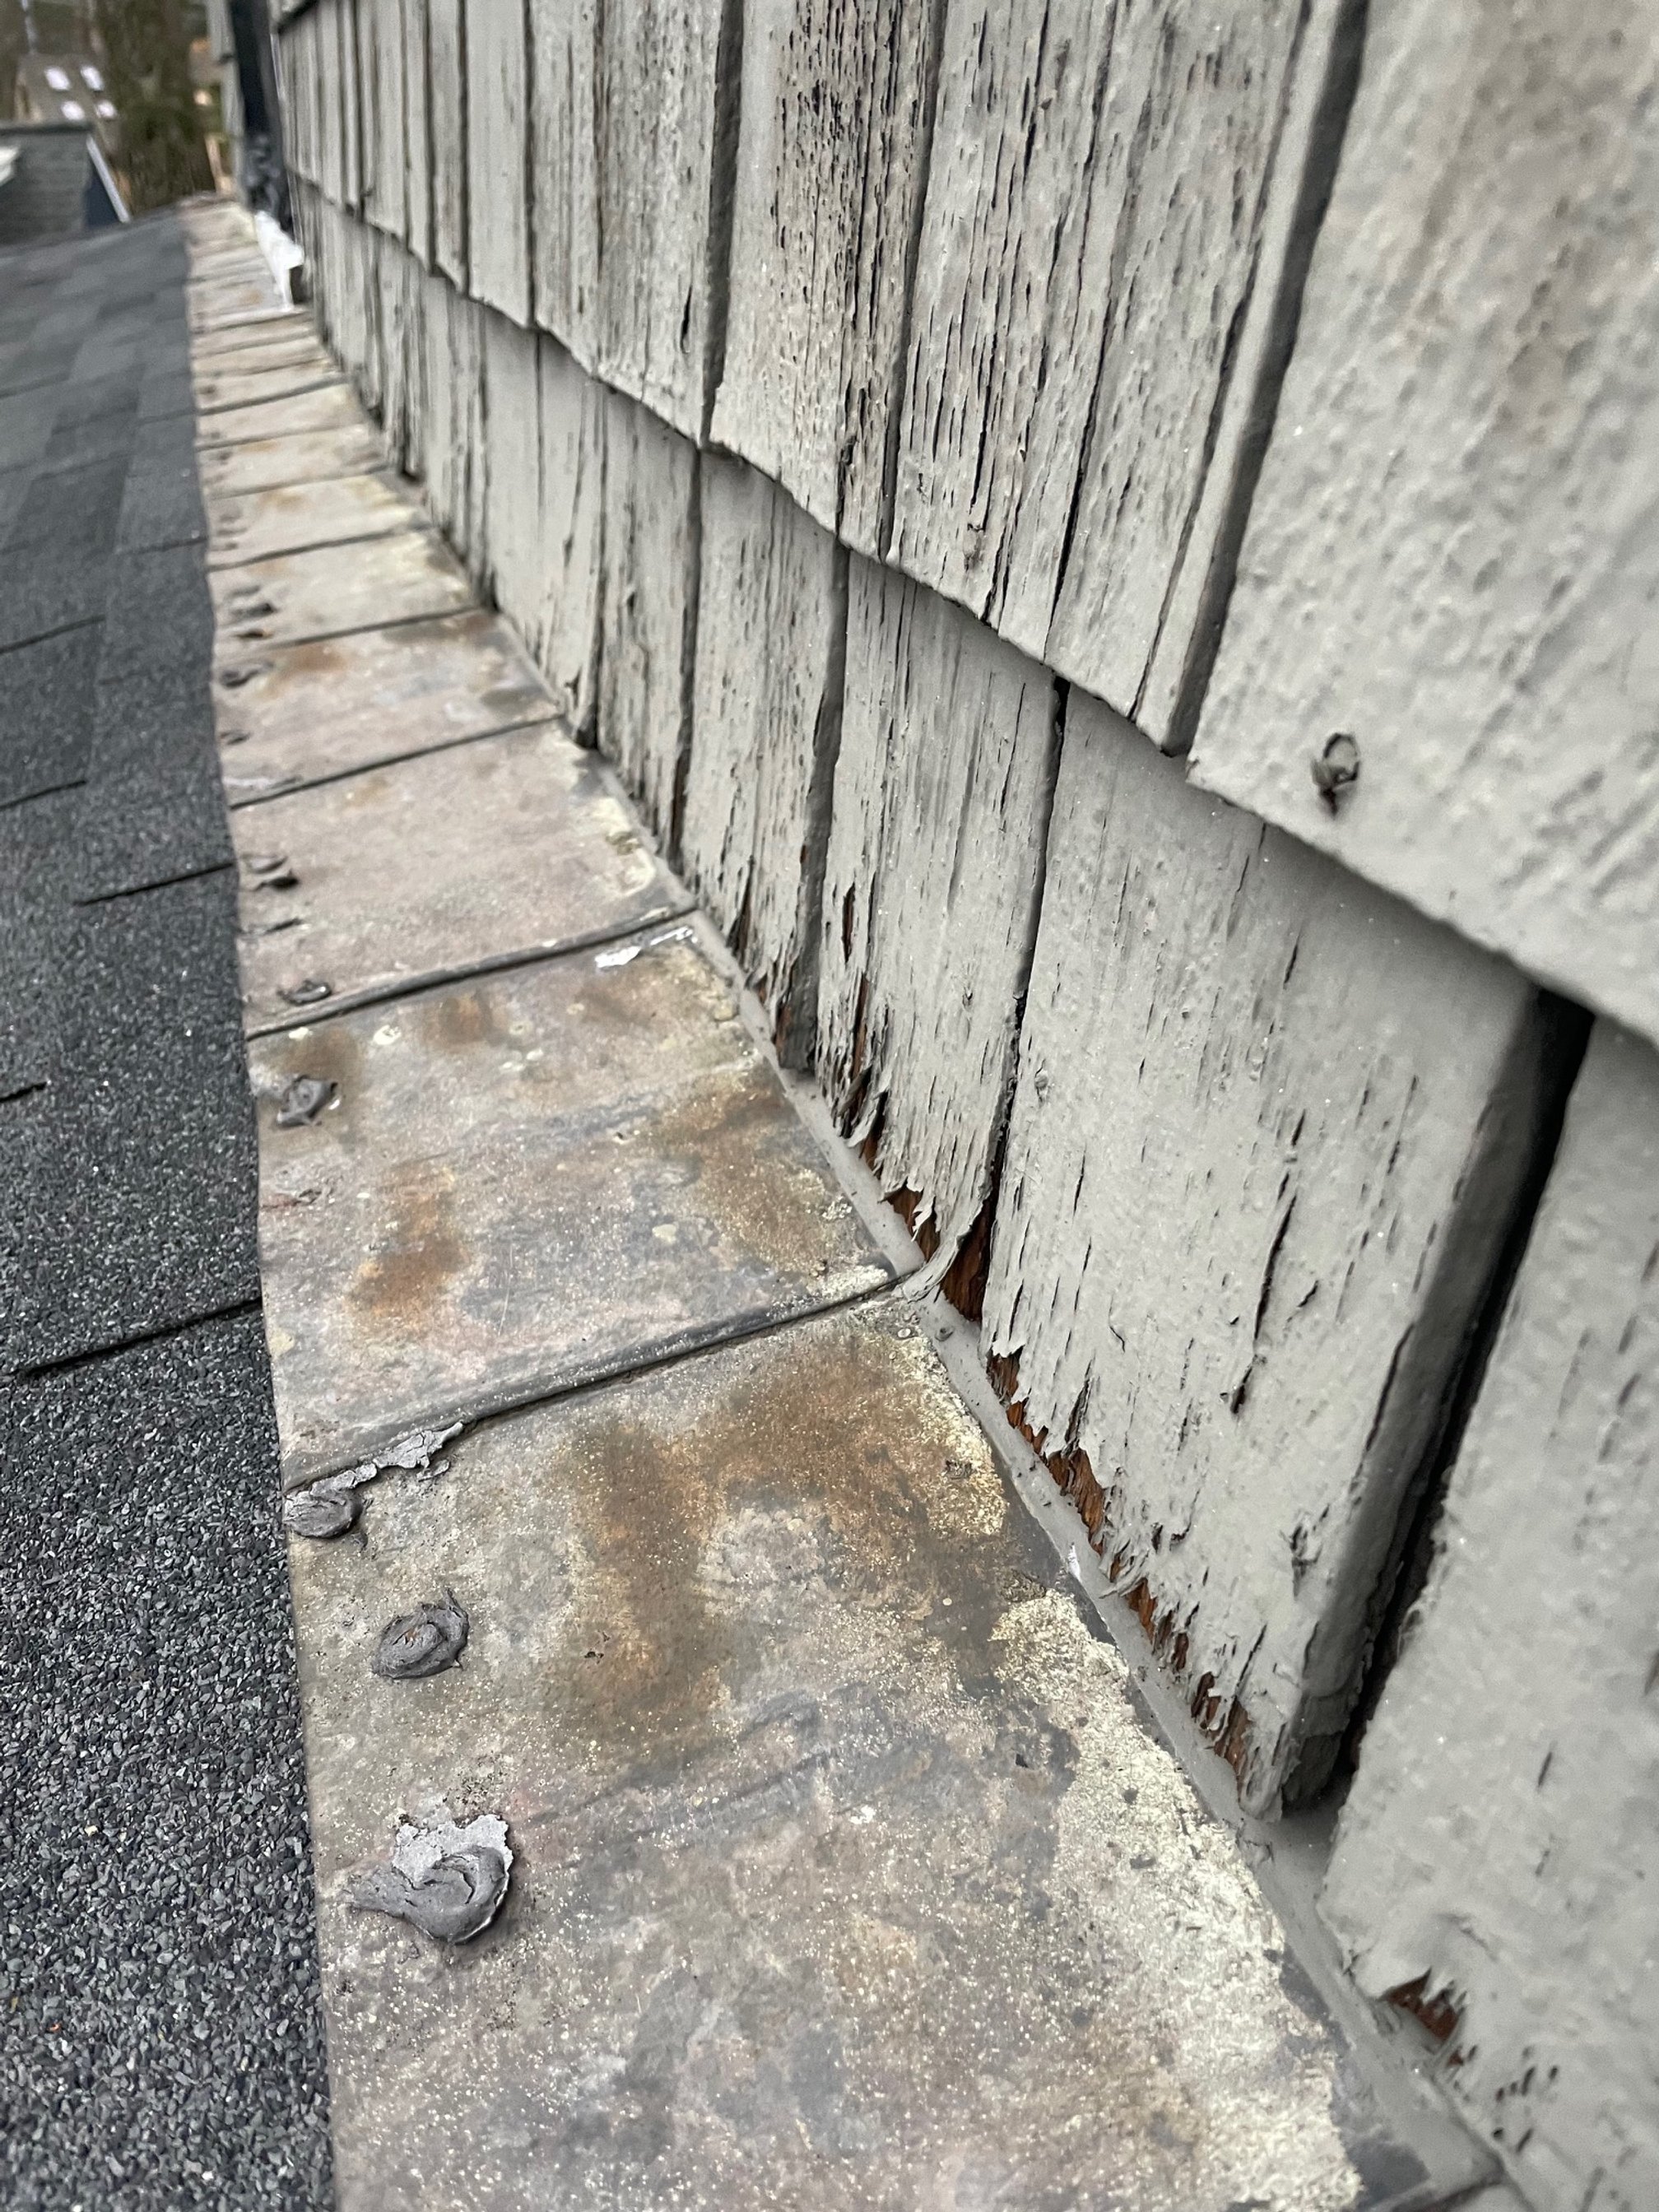
The flashing under the cedar shingles was in good shape and needed the nails carefully removed during demo to preserve it.
The water damaged roof fascia and damaged sections of the soffit were removed at the roof edge to be addressed later.
In order to expose the issue for correction, the roof planks had to be removed back to house and roof edge at this NW roof location.
The structural framing on the rest of the roof was in good shape, with only a number of holes identified, and some damage edges needing repair.
2. Repair Damaged Structural Framing and Sub-Surface
Now that the problem issues were identified and exposed, the race was on to make the corrections within a week in order to close things up before the weekend and potential rain. The failure at the NW corner was the first priority as we found that previous joinery to add support on the hip joist had failed causing a deflection at the joinery. At this location and some others at the roof edge, the crew would use string lines to properly level the supports and “Sister” the joists in order to create a resilient structure. Sistering basically entails securing a second piece of lumber to the existing one, tying back to the cross member together, creating a stronger structural frame, that won’t deflect as easily.
The guys began by jacking up the strongest remaining part of the hip joist to the correct slope.
Then, once in position, they replaced the boards that were failing and sistered the hip joists to create much more resilient framing
A view from above shows the framing as it is being finalized and showing the old plank sheeting on the house, the porch ceiling boards, and existing flashing carefully turned up to receive the new roof.
Then, on the road to closing out the sub-surface work on the NW corner roof, new plywood sheeting is cut to fit, slid under the flashing, and secured to the roof joists. This leaves it ready for ice shield, drip edge, shingles and re-securing the flashing.
Very close to the front steps of the porch, a poor drip edge caused damage to the roof edge and soffit. Roberto and his team used the same sistering technique to strengthen the framing.
At the NE corner of the porch roof, another poor drip edge caused damage to the roof edge and soffit, as well. While requiring less demo, the same technique was used.
The front portion of the roof has the damaged planks removed and replaced with cut-to-fit plywood sheets.
And finally, here’s the NE corner after plywood is secured to complete the sub-surface at the corner.
3. Repair Soffit and Fascia
The demolition of the damaged portions of the roof soffit and roof fascia was executed in parallel with the roof surface demolition and repair. We basically found that the damage to the fascia along with the need to access almost the entirety of the roof edge for repairs, required nearly all of the fascia to be removed and replaced. On the other hand, while there was significant damage in certain locations of the soffit, most of it could be restored and repaired with relatively very little to be replaced. Vince, Pat, and Roberto brainstormed and came up with a way to best match the soffit planks size and look, and had small pieces fabricated to complete the repair.
The fascia removed at the edge of the roof. Removing the fascia not only removed damaged pieces, but allowed inspection of the roof joist ends for damage and repair.
The worst damage to the soffit was near the porch main steps. But the planks were in generally good shape around most of the porch perimeter.
The new soffit goes on to match the original after all framing corrections were made and the upper roof was closed up.
This angle shows that the soffit is in pretty good shape after the fascia goes back on. The small gaps will get filled or caulked.
The last soffit pieces went in after the new drip edge was installed. The worst soffit damage was by the main stairs to the porch. Once the replacement planks are cut to fit and primed…
The pieces closed in the soffit effectively and in keeping with the old appearance of the existing soffit. It was evident from the varying widths of old pieces that the soffit has needed a lot of work over the years.
4. Preserve and Re-Secure Original Metal Flashing
The old metal flashing has been noted a few times already on this site. While it’s looks live up to the word “old”, close inspection shows that it is still very effective in keeping water out from behind cedar shingles and from getting under the roof shingles and sub-surface. So, the crew was careful to remove the nails and carefully turn up the flashing during the roof shingle and ice shield removal. Nailed back in to the new roof surface eventually, it looks good, too. All that’s left is for me to remove loose paint on the existing cedar shingles and paint once we have a series of days over 50 and no rain.
The original flashing has the nails removed and is slightly turned up during demo. Scraping the loose paint and repainting the cedar shingles will be my job after the roof work is completed. We’ll need some 50+ degree days with no rain.
And here is the flashing re-secured with the new roof down. We originally considered cutting a 1/4” off the bottom of the lowest shingles to keep water from wicking up, but further inspection convinced Pat that the existing gap and original installation is working just fine.
5, 6 & 7. Install New Ice Shield, Drip Edge and Shingles
So, now that a couple of weeks of work is completed, we’re ready to put the final touches on getting this roof to do its most important job of effectively shedding water. We knew about structural issues, could see the old drip edge was ineffective, and the demo of the old ice shield revealed numerous holes in the roof deck planks. We could now correct the remaining issues by laying a new ice shield, installing a good metal drip edge and putting down the new asphalt shingles.
To an engineer like me, a perfect drip edge…can be pretty beautiful. Here’s the SE corner of the roof prior to the shingles being extended over the edge.
It is just a simple piece of sheet metal flashing, but it directs the water away from your house and straight down and evenly off your roof.
Rolling out the ice shield on the front portion of the roof, the crew starts the last phase of the roof work.
That NW corner getting is covered up.
The front portion of the roof with ice shield on and shingles ready to go.
The previously troublesome NW corner looks great in its new wardrobe.
Welcome back, shingles.
Every section of the roof requires some special attention.
Going down in order at the hip
Finishing up the first major phase at the end of a good day.
With the porch roof work completed, we can move down to the lower portions of the porch and stairs. The crew started some of the demo work even before finishing the roof (such as removing the damaged back stairs, which actually made maneuvering the ladders around the roof a little easier), so we’re in good shape to make progress right away on the porch floor and associated elements.


