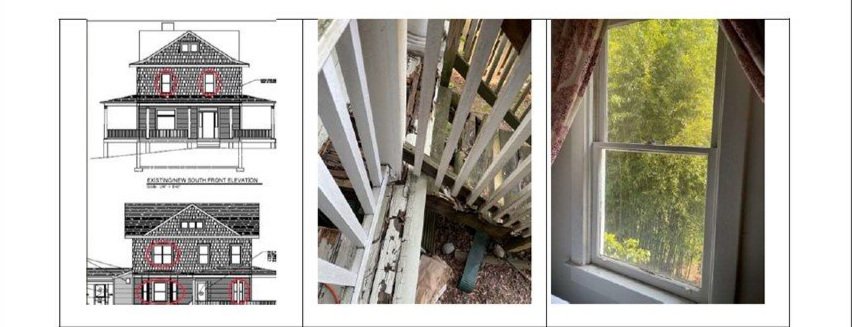
Detailing the Scope of Work
The Project Scope - All Features of Work
Developing the scope of work is an important part of successfully planning a project. By performing a thorough review of the various features of work required to deliver the desired end project, the contractor, tradespeople, inspection authorities, and customer can get on the same page and align expectations.
This particular project is relatively straightforward - 1) Restoration of the porch, 2) Restoration of wood windows. So, listing out the sub-components under those two large headings is a good bit simpler than developing the scope of work for a new house or a major renovation that involves a greater number of trades.
List It Out and Leave Nothing Out
By creating a simple spreadsheet with a checklist of activities to be completed, proposals from multiple bidders can be compared, line-by-line. In this way, the customer can ensure that all bidders have the full scope and any differences in materials or methods can be highlighted.
So, here are the basic activities for our project:
Example spreadsheet used to detail the scope and compare bidder line items
The Porch Work
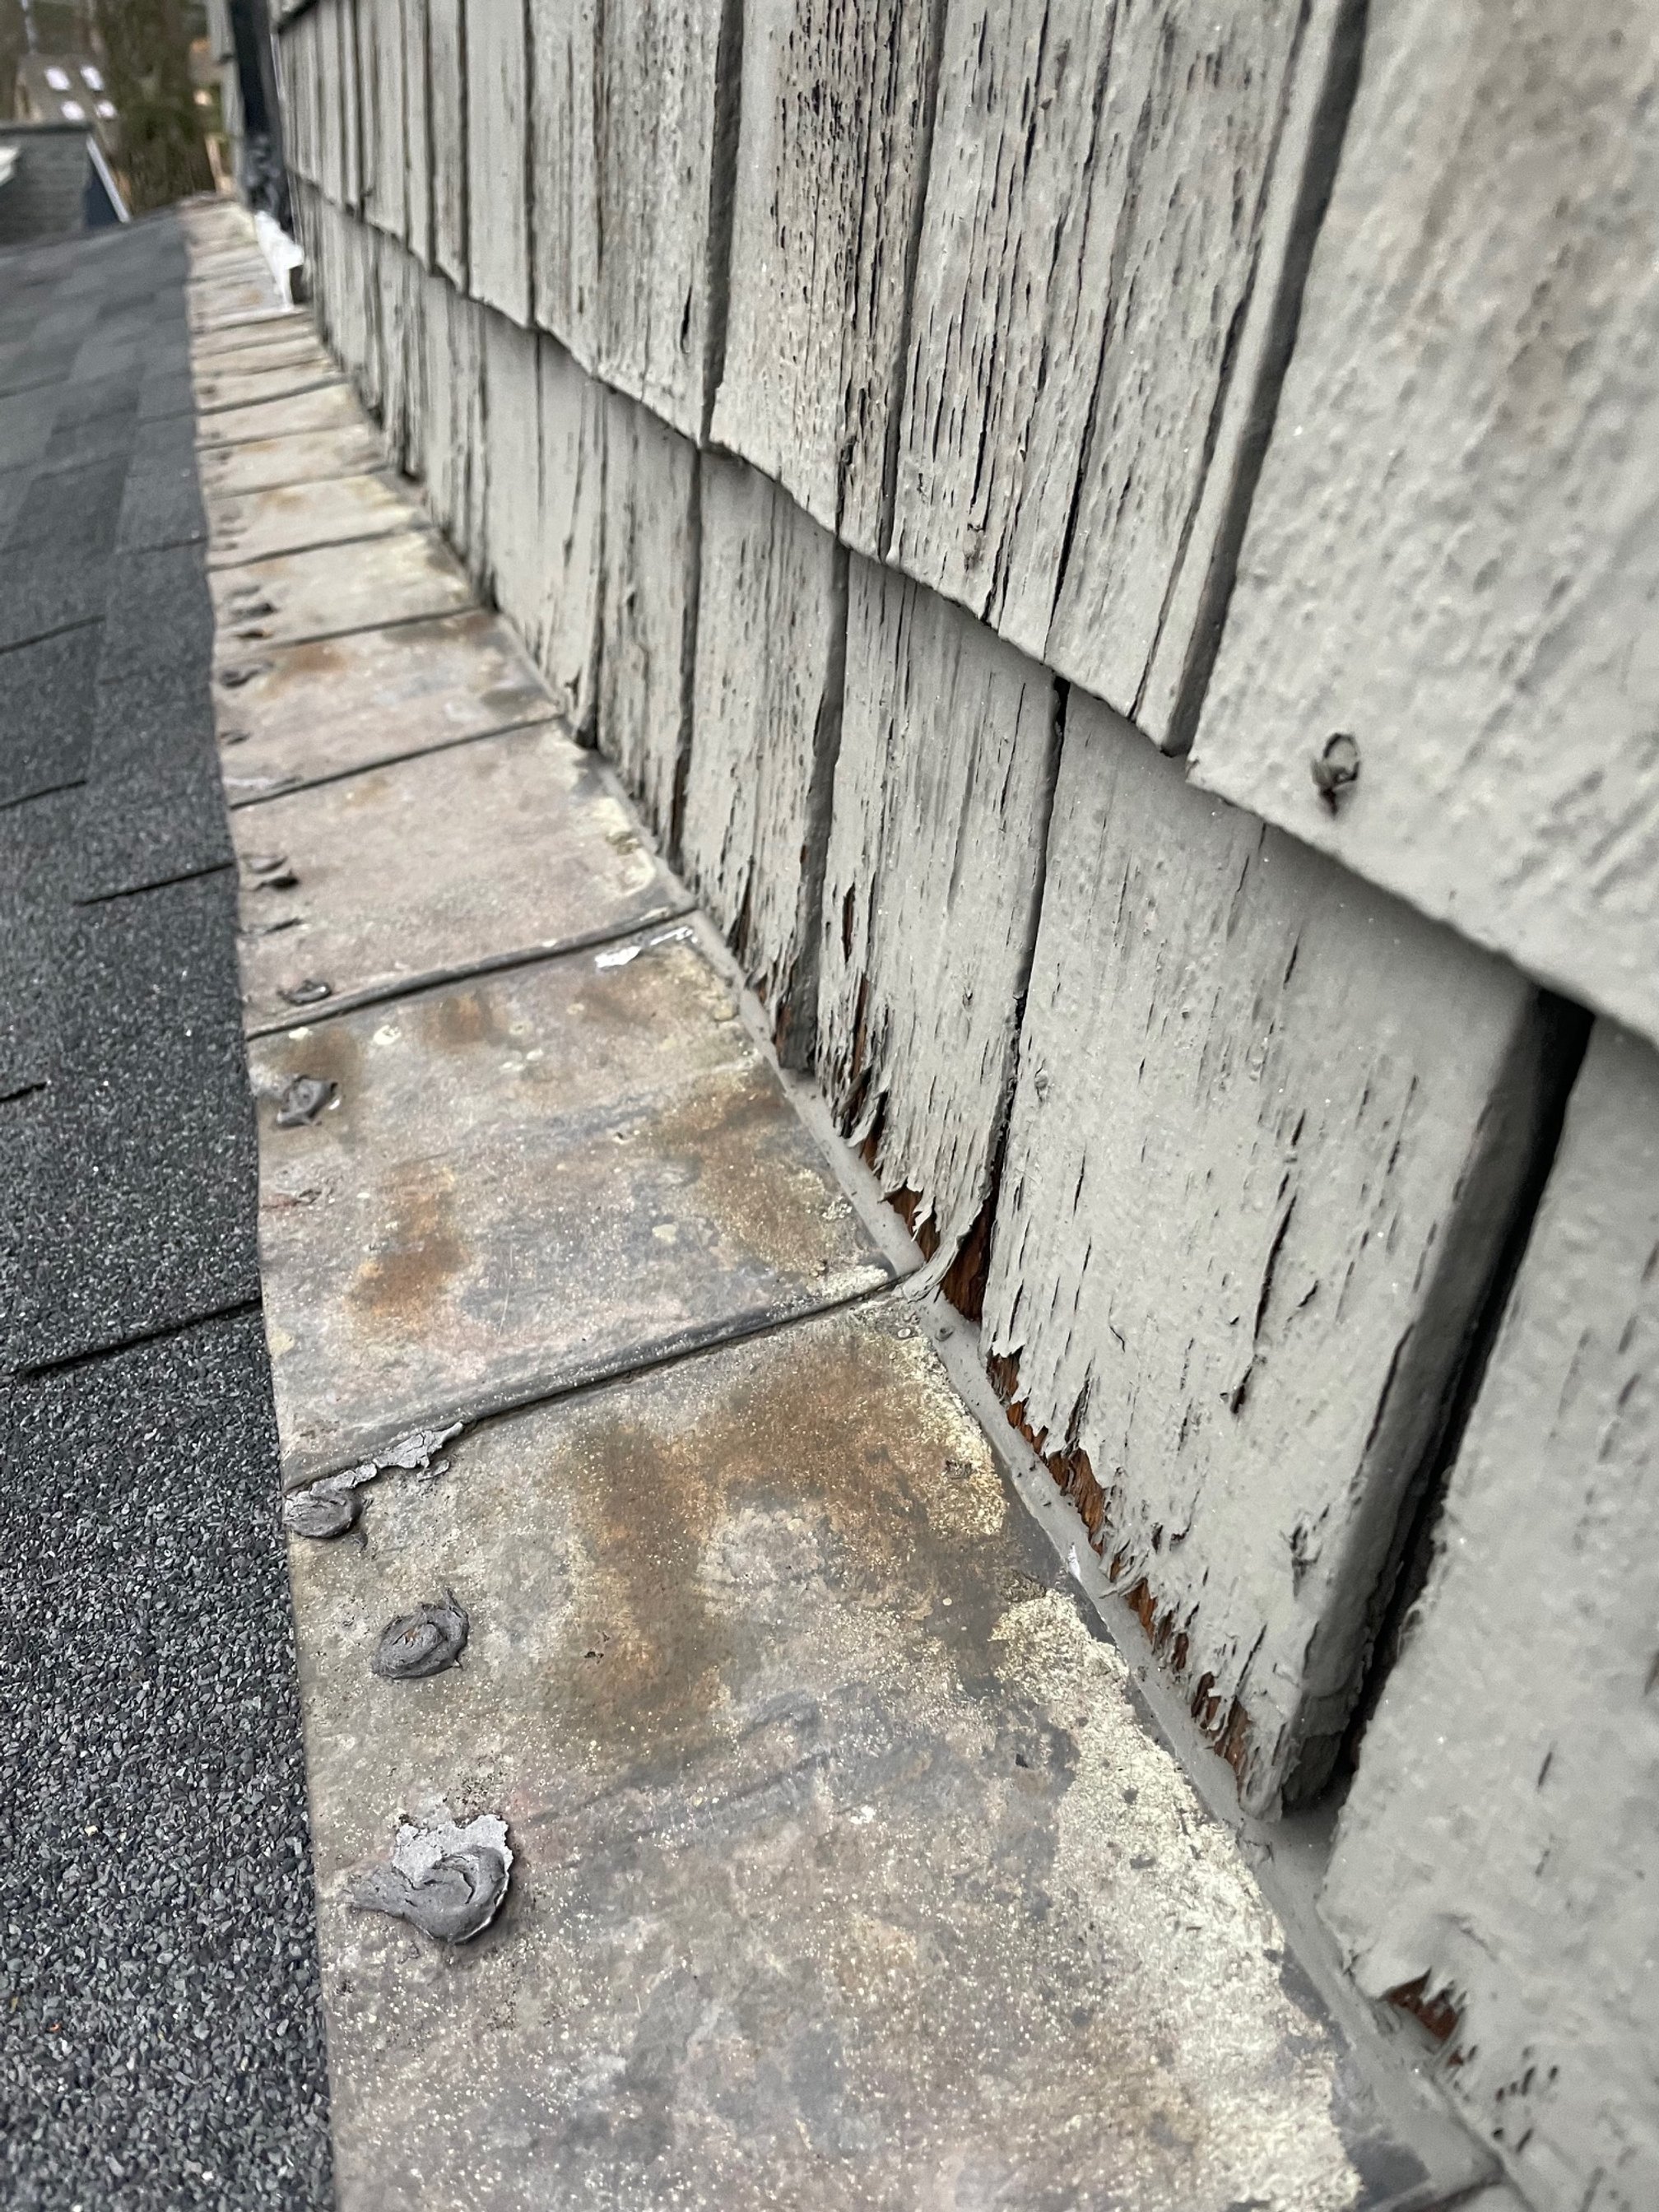
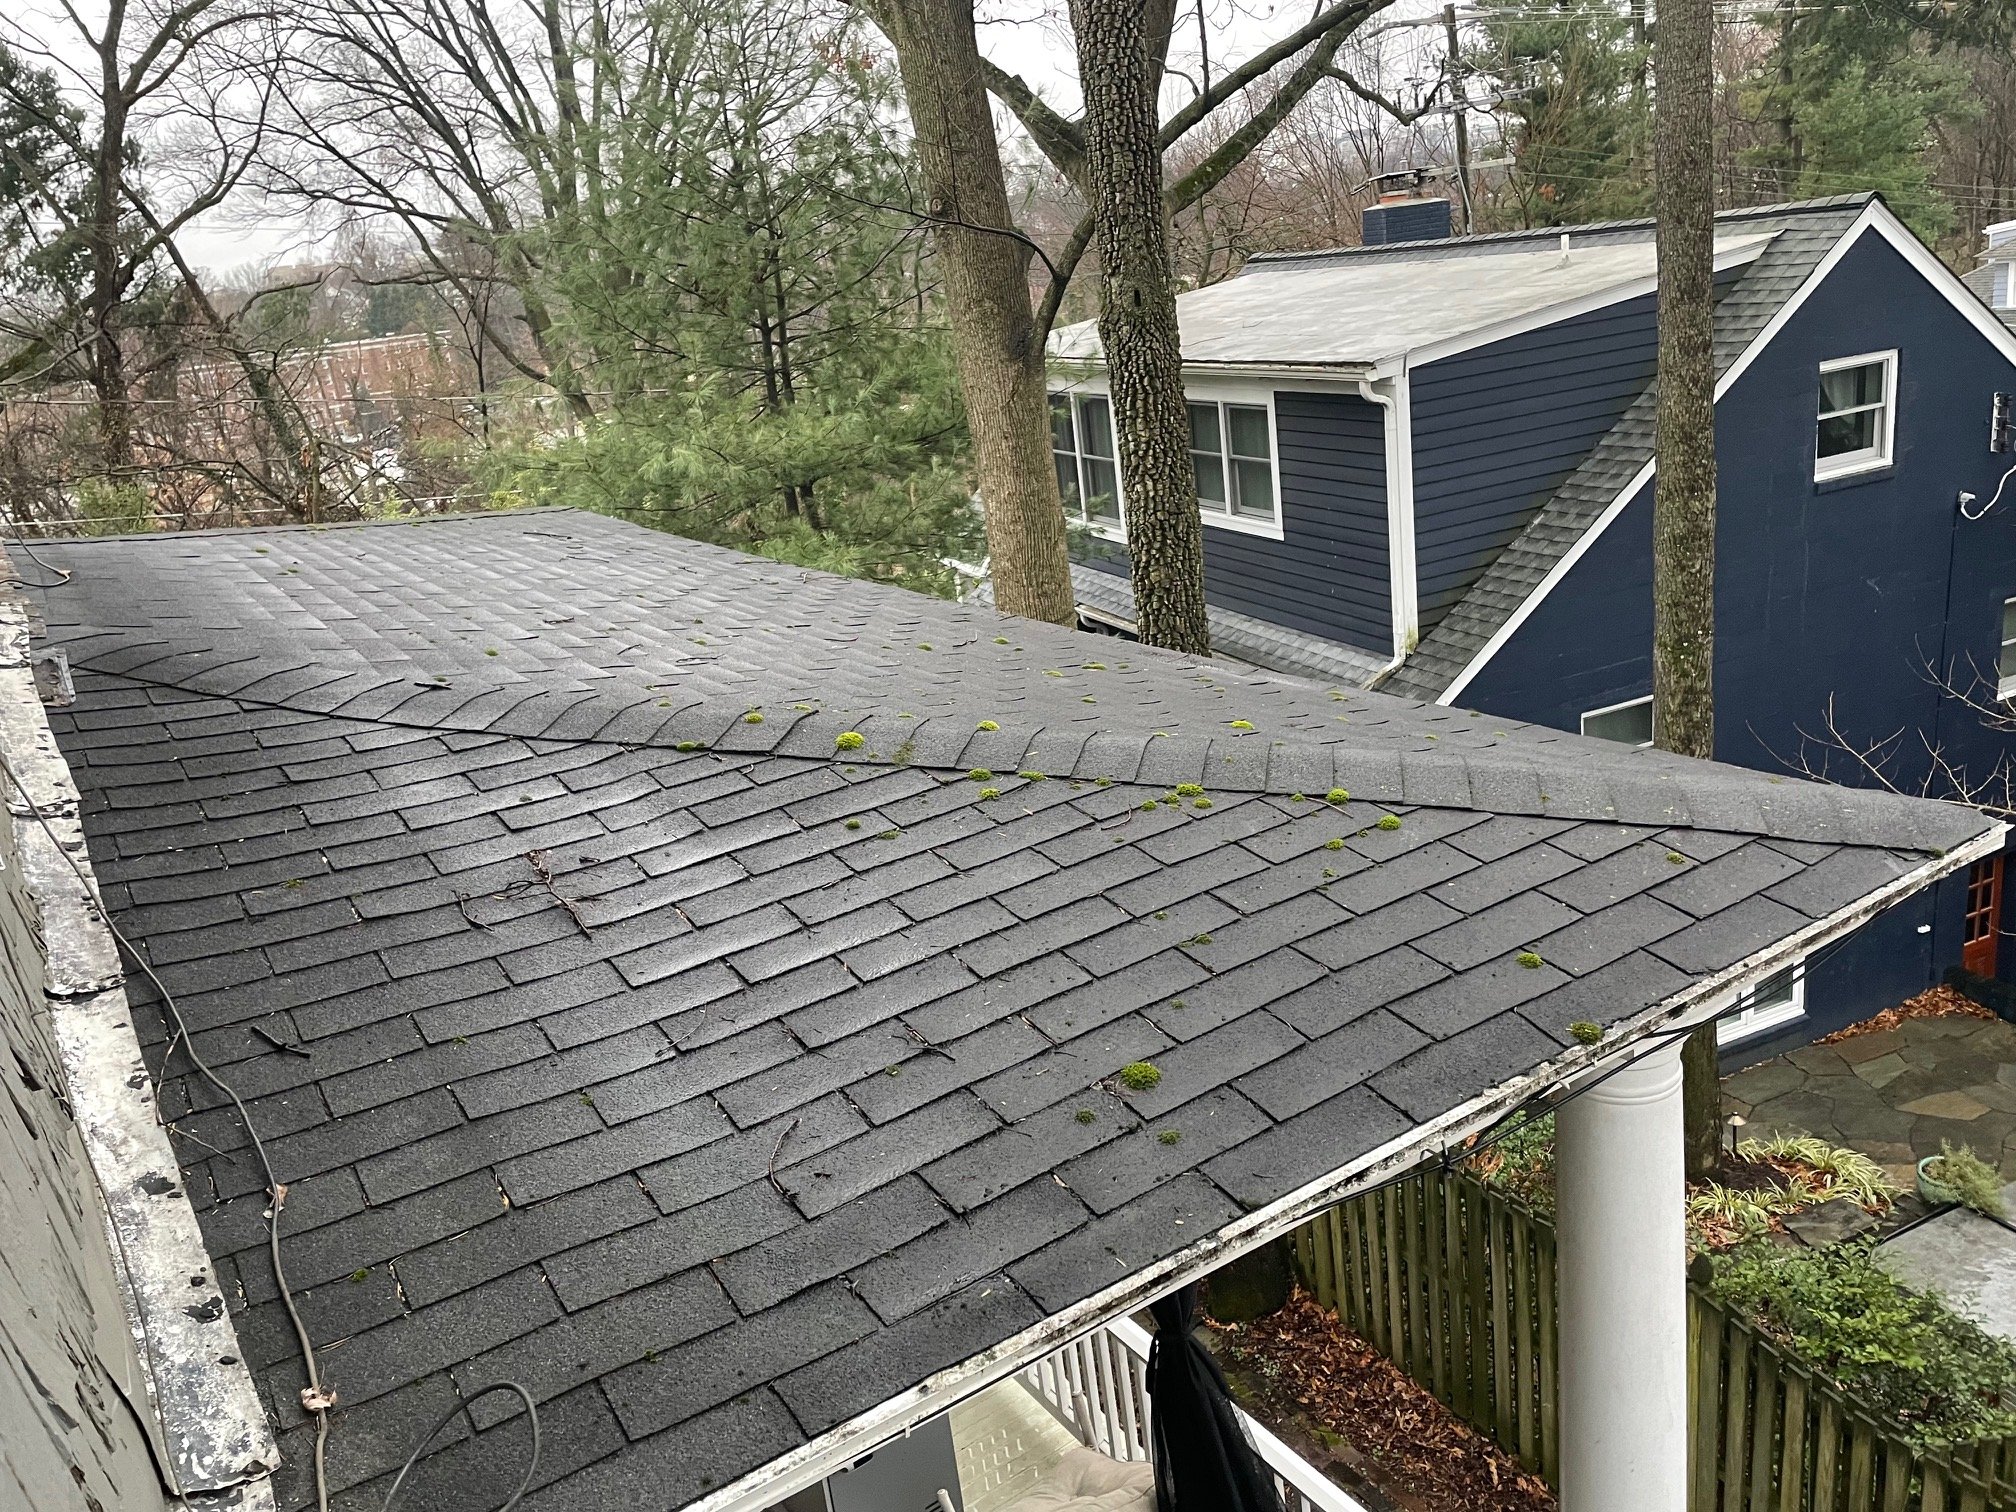
1) Remove Roof and Shingles – removing the roof shingles and sheeting allows us to inspect the framing, ceiling boards and flashing as well as restore a good drip edge.
2) Repair Damaged Framing – there is evidence of damaged framing on the northeast corner of the porch roof. This has contributed to the water damaging the fascia, back steps and porch floor in that area, as instead of dripping, the water curled back under the roof edge and ran down the fascia in multiple locations.
Porch Roof Flashing to be retained under the cedar, over the shingles, and a part of the roof that needs the framing repaired
3) Restore Damaged Fascia and Any Damaged Ceiling Boards – with the roof removed, any damaged fascia components can be repaired and the ceiling boards can be inspected for water damage and repaired as needed.
Porch Fascia and Ceiling Boards needing repair due to water damage
4) Replace the Roof and Shingles – once the framing, fascia and ceiling are repaired and the rest of the components are inspected, the new roof sheets and shingles will go back on.
5) Repair Flashing Where Roofing Meets Cedar Shingles – as the roofing is going back on, the existing flashing will be inspected and repaired to ensure that the water is directed down off and away from the shingles.
6) Repair Columns – there is some water damage to a few of the columns with only one needing potential replacement.
7) Repair Damaged Deck Floor – as noted earlier, the wood floor started to rot in the northeast corner and we removed the damaged wood. The floor boards in this area will be replaced with new wood boards.
8) Restore Weathered Deck Floor – the rest of the floor will be sanded and we plan on painting the underside of the boards as well as the top side to help limit future moisture in the planks.
Deck Floor Planks affected by water, despite repair and repainting multiple times over the last few years
9) Repair Damaged Back Steps – water damage to the back steps requires that we replace the existing steps with new risers and stairs.
10) Repair and Restore the Skirting Boards – the lack of a good drip edge also resulted in portions of the skirting experiencing water damage. Some elements need replacing, while others need sanding and painting.
The damaged stairs and porch skirting, both victims of water
11) Paint All Elements of the Porch – the final step is to seal the deck floor and the other wooden elements of the porch using the same colors currently used..
The Window Work
Restore Ten Original Windows in the Attic – these windows are tilt out with what looks like original hardware
1) We plan to remove the windows a bay/window at a time..
2) The wooden framing will be reused where salvageable. Where the wood has rotted, new wood elements will be used.
3) Some of the windows have original glass in which you can see the “waves”. For those windows that do not have the old glass, we plan to replace with repurposed “wavy” glass.
4) All windows will be reglazed.
5) The gaps in the framing around the windows will be filled in and insulated. There are areas where one can see straight to the exterior through the old gaps.
6) The windows will be painted to match the existing exterior white trim.
What may be the most fun part of the project will be restoring the 10 attic tilt-out windows - while retaining the existing original hardware, old “wavy” or “antique” glass will be installed for any windows that do not have it already
Restore Three Original Bedroom Windows – these appear to be the only three windows that survived the vinyl window replacement that must have been performed before Maywood became an historic district. They are not in good working order right now, but:
1) We plan to remove the windows and restore the framing, channels, weights and hardware.
2) We plan on sanding and repainting the window frames and trim.
3) The windows will be re-glazed.
An original bedroom window (at right) to be restored to working order - in another fun part of the project, the windows will be removed and weights and pulleys restored to working order for this and two other original bedroom windows
Restore All Vinyl Windows to Wood
1) We will remove all of the remaining vinyl window assemblies and replace with new Marvin wood windows that most closely match the remaining original wood windows.
2) To remove the windows the original casing and trim have to be removed. Unless there is some damage to these elements, all will be restored and painted with the new windows.
3) If any elements are damaged, we will use new wood elements that match the damaged elements
Some of the vinyl windows that will be restored to new wood windows, closely matching the remaining original wood windows


